
Your business website, built into how you work
Nenvik Website Studio lets Australian service businesses choose a design, manage website content and capture website enquiries alongside their customer and job records.
Customers can also make online booking requests for an available time. Your team reviews each request and approves it into a scheduled job.
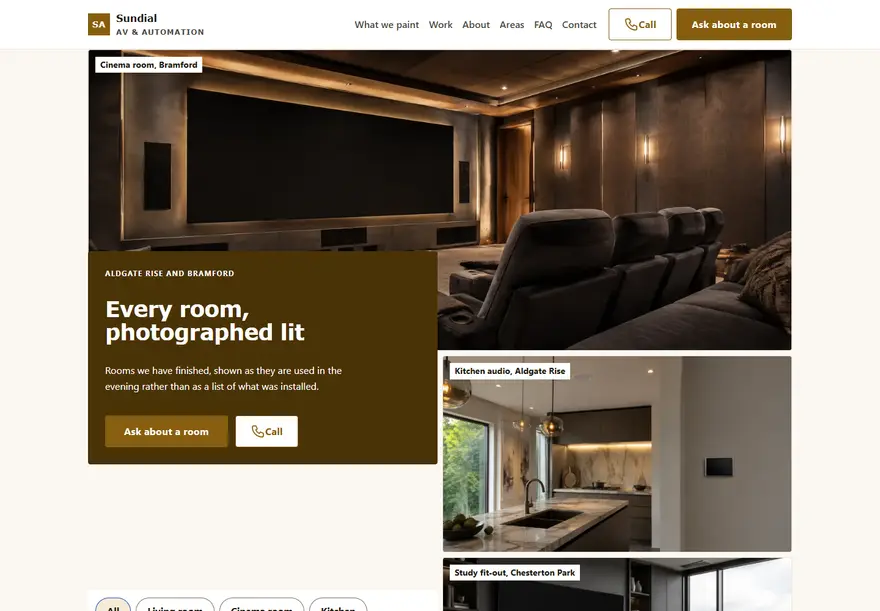 Screen on GalleryGallery
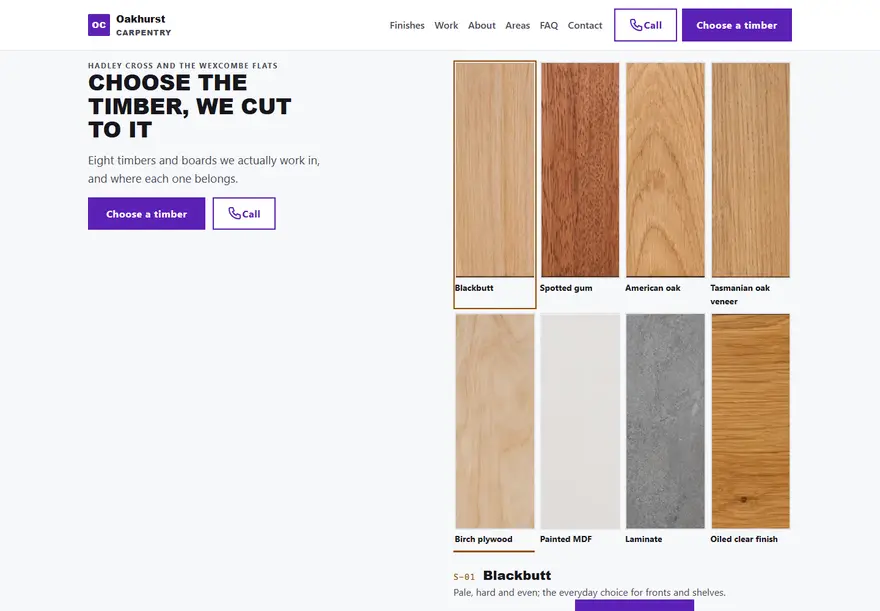 Dovetail on PalettePalette
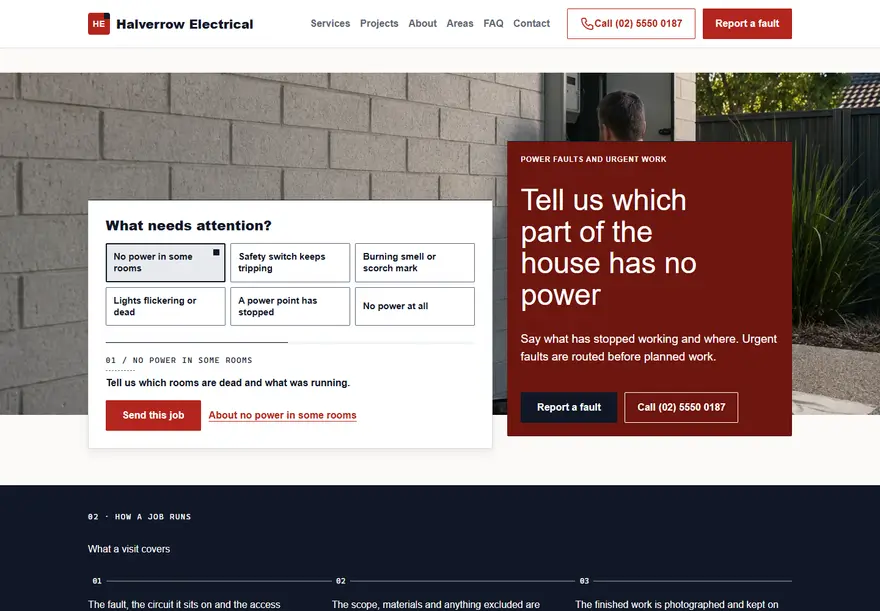 Livewire on DispatchDispatch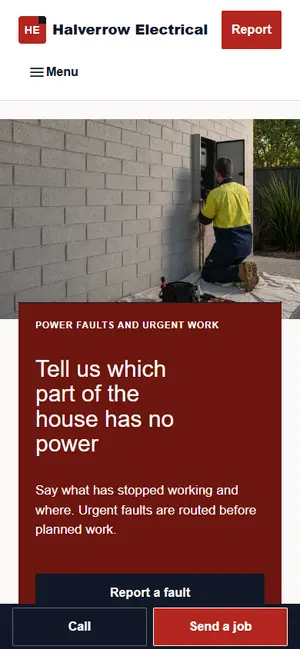
Choose your trade and a design
Open Choose a design, then confirm Use this design to save a draft.
Illustrative walkthrough. Publication needs permission and an enabled website before customers can use it. Quotations are sent through the separate quote workflow.
THE WHOLE JOURNEY, AT YOUR PACE
- Website Studio · Theme and layoutWebsite StudioPagesAppearanceAddress & SEORequestsMoreILLUSTRATIVE WALKTHROUGHChoose a designScreen on GalleryGalleryDovetail on PalettePaletteLivewire on DispatchDispatchChange trade✓Use this design✓ILLUSTRATIVE CUSTOMER VIEWYour business websiteService areas
01 Choose your trade and a design
Open Choose a design, then confirm Use this design to save a draft.
- Website Studio · Composer: arrange sections with a live preview
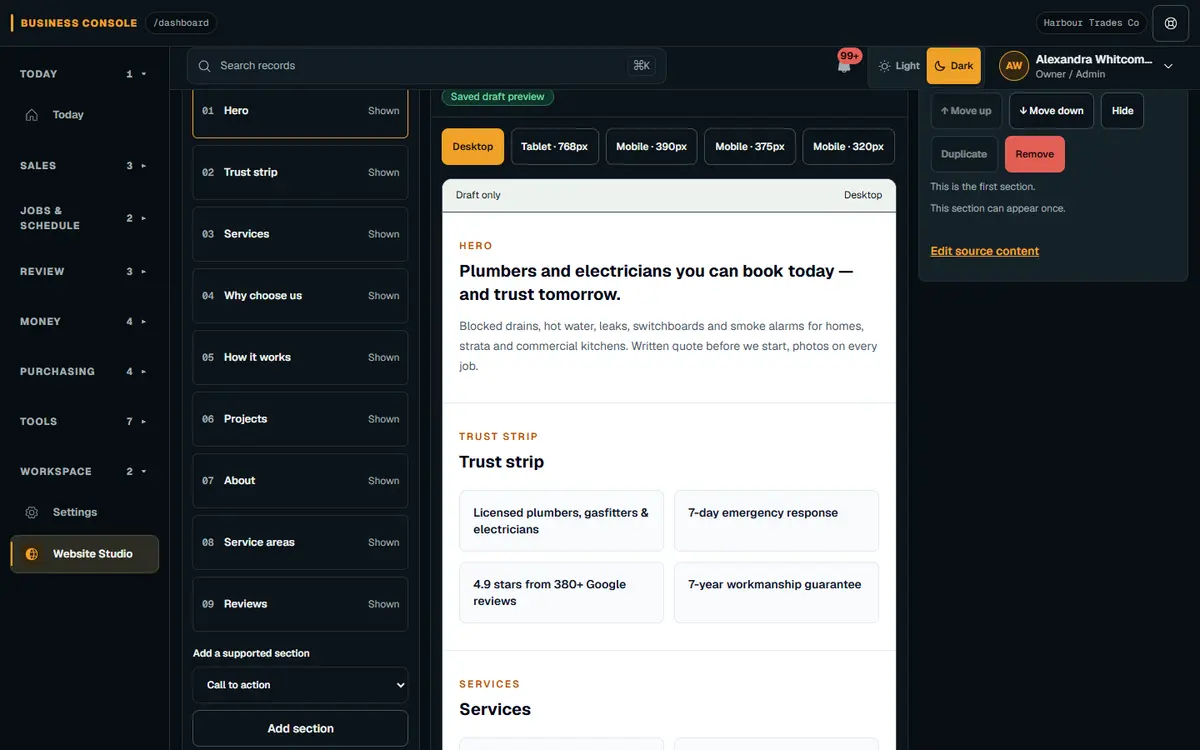 ILLUSTRATIVE CUSTOMER VIEWYour logoYour service areas
02 Make it feel like your business
Add your logo, adjust your colours and enter the services and places you actually cover.
- Website Studio · Review and publish
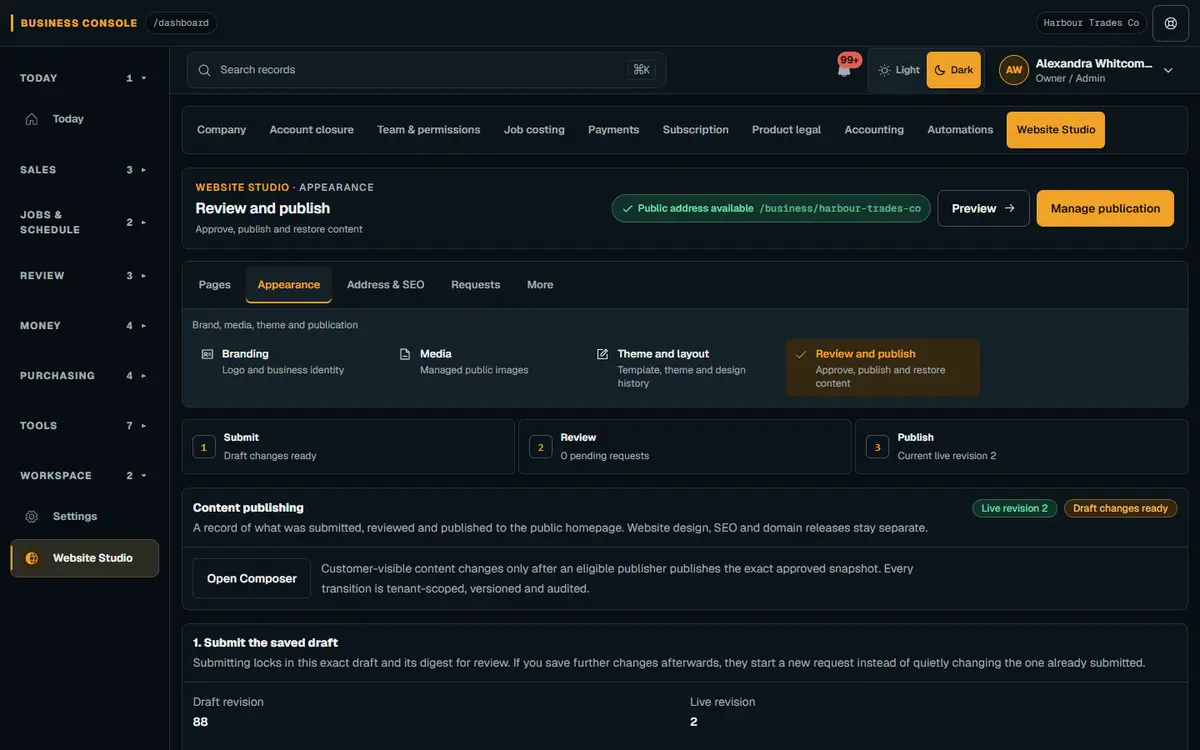 ILLUSTRATIVE CUSTOMER VIEWMobile previewYour contact details
03 Check the saved design, then publish
Use Preview your website to inspect the saved draft. An authorised publisher confirms Publish design.
- Website Studio · Business websiteILLUSTRATIVE CUSTOMER VIEWRequest a QuoteRequest sent
04 A customer sends a quote request
On your enabled website, a visitor chooses a service and sends their job, contact and location details.
- Website Studio · Quote Requests
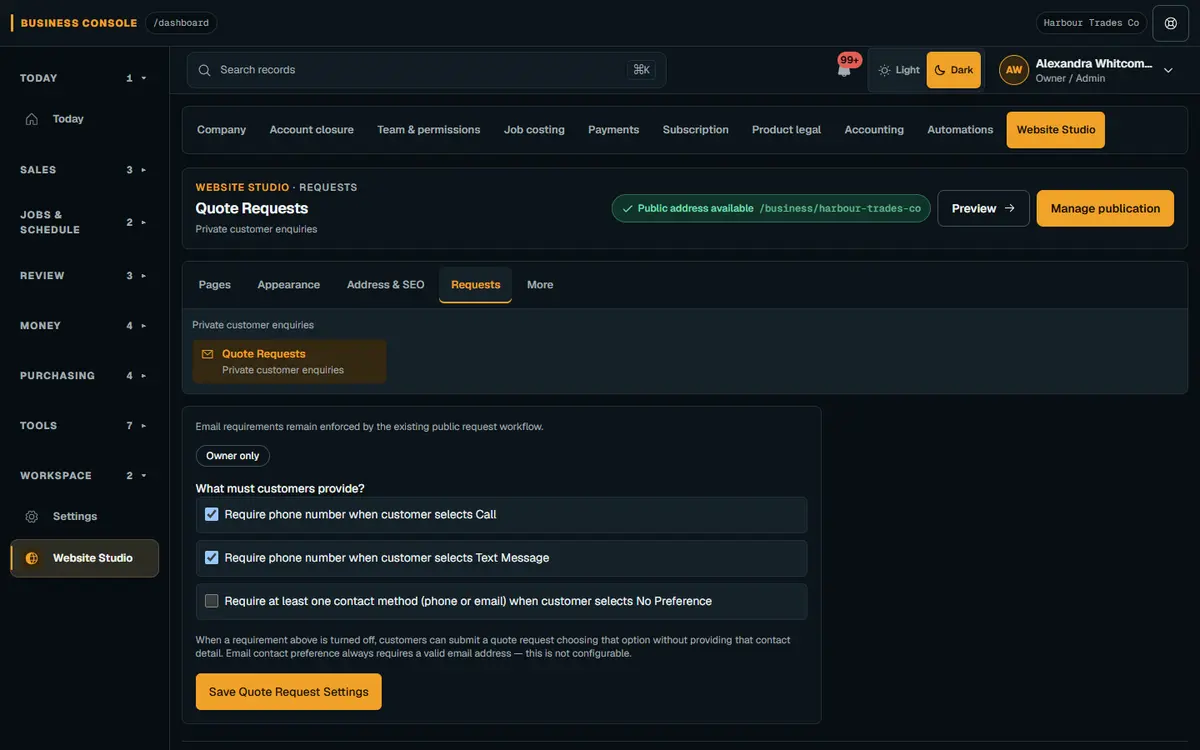 ILLUSTRATIVE CUSTOMER VIEWRequest receivedLocation details
05 The request arrives with the details
Nenvik creates a lead and keeps the quote request with the customer’s contact details and job location.
- Nenvik · Quotes · Customer PortalBusiness ConsoleLeadsCustomersSitesQuotesILLUSTRATIVE WALKTHROUGHQuotesCustomer and site✓Publish Quote✓Email secure Quote✓ILLUSTRATIVE CUSTOMER VIEWCustomer PortalQuote accepted
06 Send a quote. Let the customer respond.
Prepare the quote, select Publish Quote, then Email secure Quote to send its link. A customer with portal access can accept it there.
Illustrative walkthrough. Sample views explain the steps; they are not live customer records.
A website that feels like your trade.
Pick your trade to see the website designs made for it. Compare the desktop and phone views, then make your chosen design feel like your business in Website Studio.
Plumbing & drainage: 4 website designs
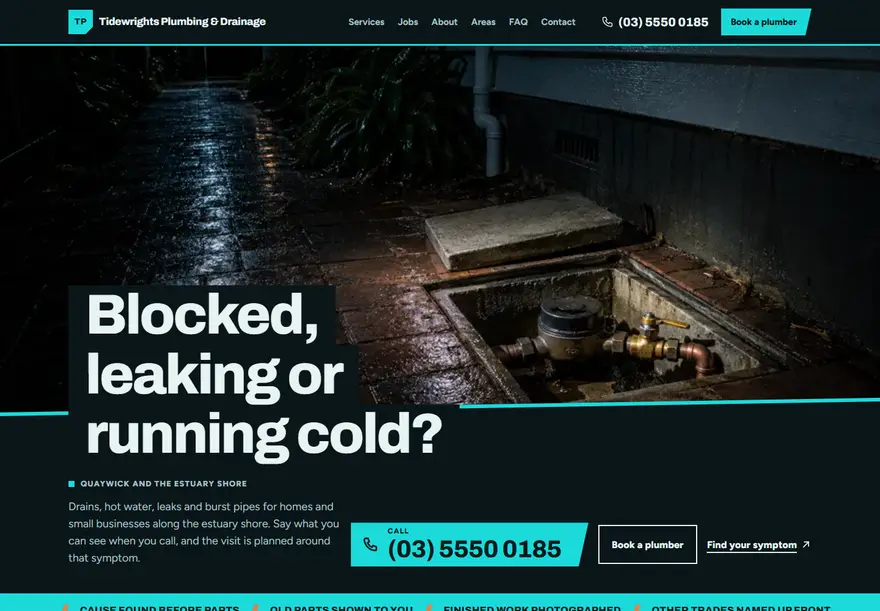
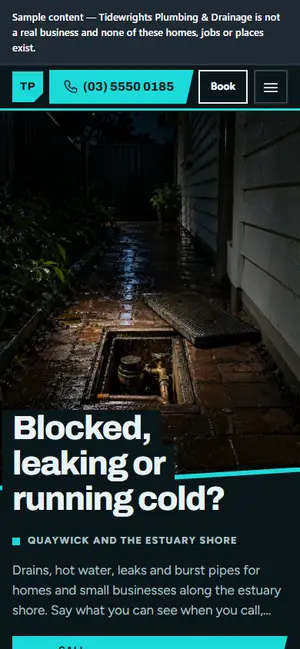
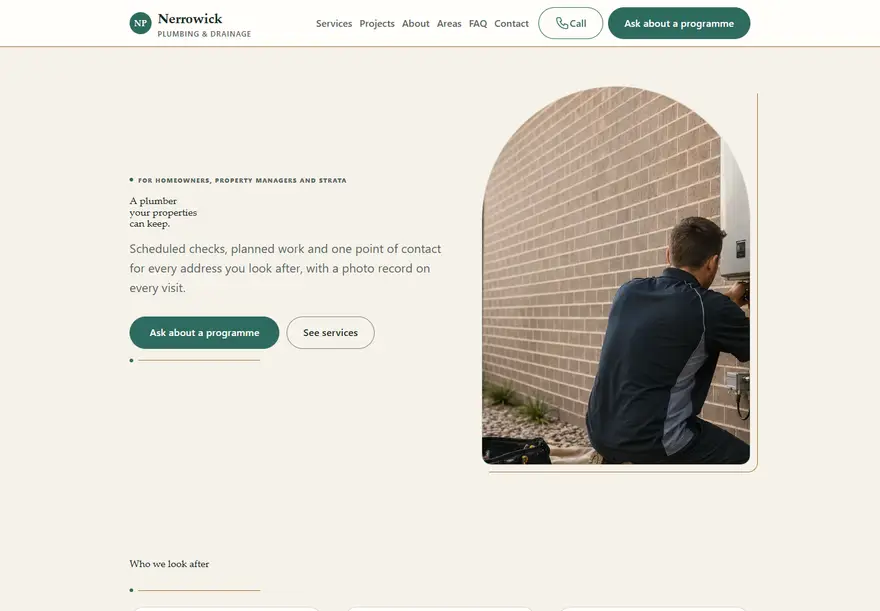
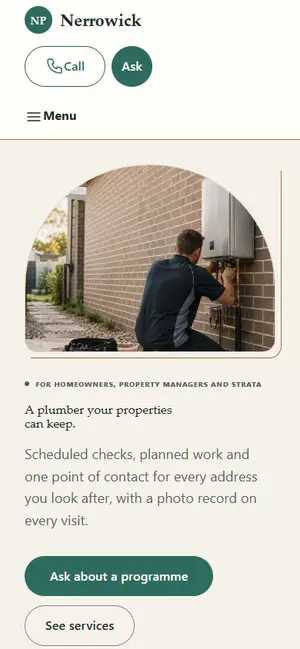
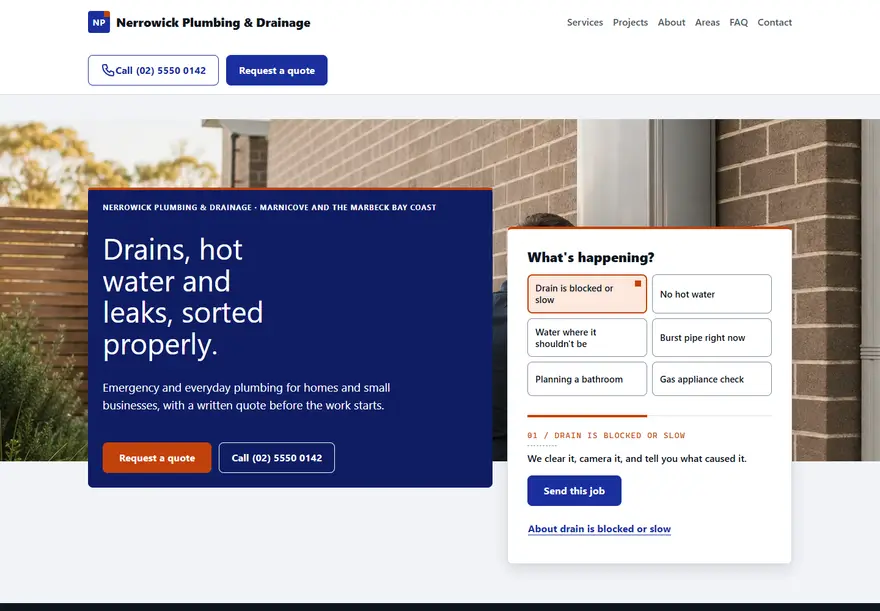

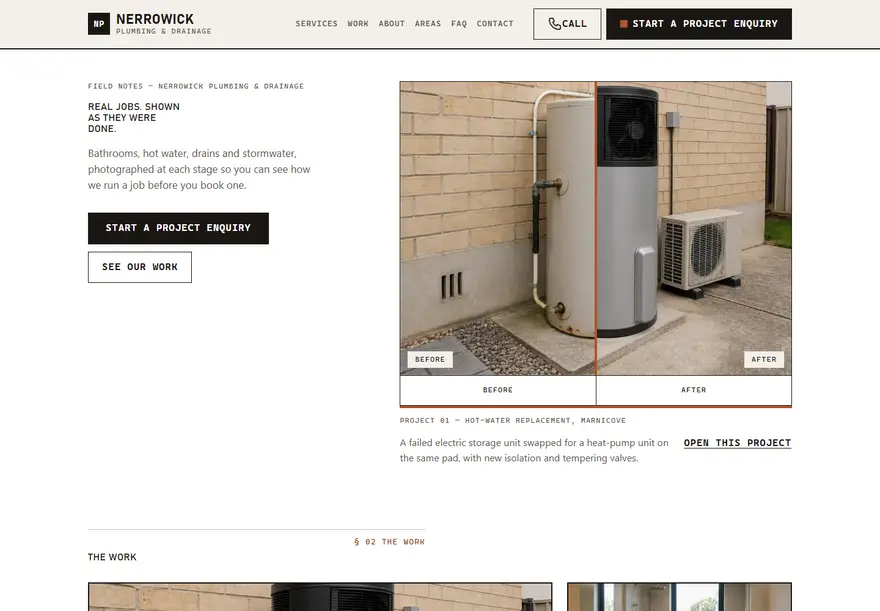
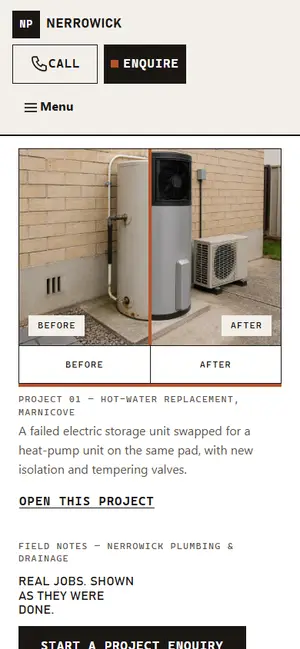
Design examples use labelled sample website content. Replace it with your own services, photos and business details.
How Website Studio works
Start in Settings → Website. Use the Pages, Appearance, Address & SEO, Requests and More tabs to find the right screen. Follow this path to prepare your site and manage it over time.
- STEP 01
Start with your trade
OverviewTheme and layoutOpen Settings → Website. Overview shows your website’s state and what needs attention. In Appearance → Theme and layout, use Choose a design and Change trade to browse your trade’s designs. Confirm Use this design to save your choice as a draft.
Optional: Add sample content to my website creates editable services, projects, service areas, FAQs and homepage items. It fills empty hero, About and final call-to-action text, keeps existing records, and replaces the Composer draft. Sample content describes a fictional business: replace it with your own facts. On an enabled website, new service, project, area and FAQ records appear straight away.
Website Studio · Theme and layout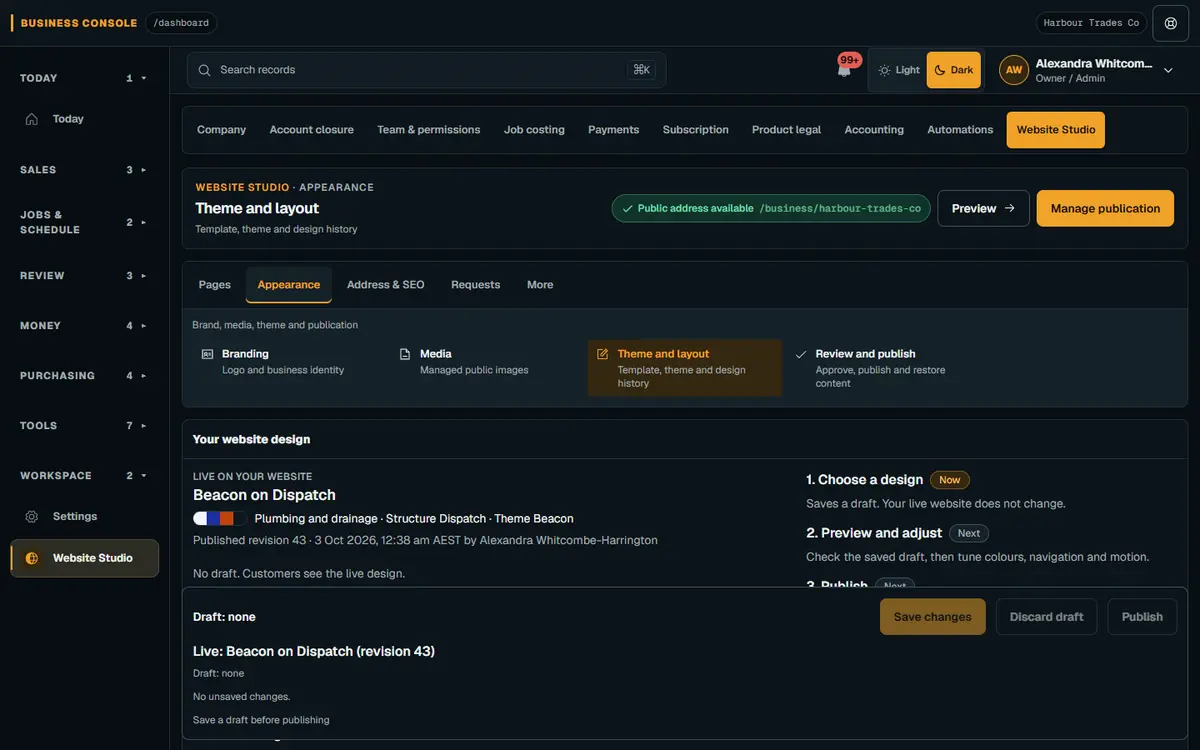
Theme and layout — sample workspace - STEP 02
Tell customers what you do
HomepageServicesProjectsService AreasFAQMediaBrandingContactWrite your headline and business story, list your services and service areas, add selected projects and answer common questions. Add your logo in Branding and maintain your public contact details in Contact. Media helps you find public website images; use Manage in context to edit them in their owning screen.
Use real photos and accurate details. Website images are public; keep private customer and job evidence separate.
Website Studio · Homepage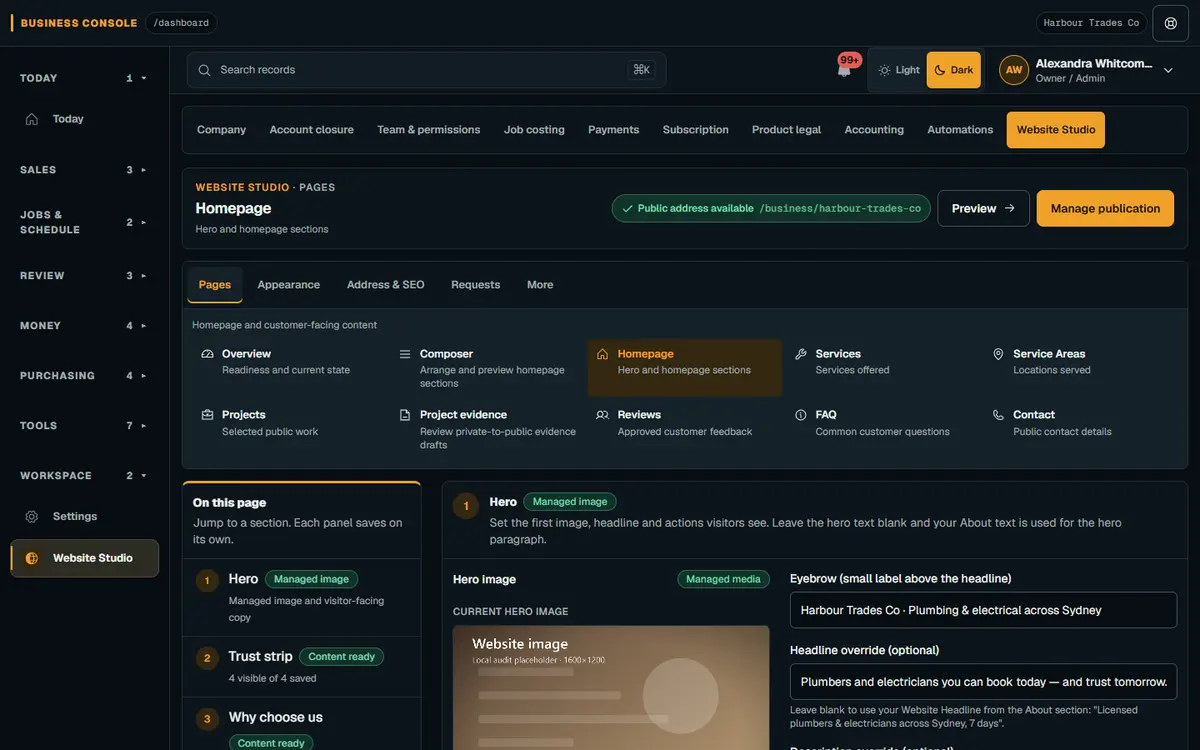
Homepage — sample workspace - STEP 03
Turn enquiries into the next conversation
Quote RequestsAn enabled website can collect quote requests with requested services, a job description, contact details and a job location. Each submission creates a lead. The Owner can review the private request in Quote Requests and use the lead, customer and site workflow to prepare a quote.
Submitting an enquiry does not automatically create a customer account, a confirmed booking or an accepted quote.
Website Studio · Quote RequestsQuote Requests — sample workspace - STEP 04
Prepare your site for discovery
SEOSet default search titles and descriptions, then refine individual pages, services and projects. Review Search visibility overview and Technical search and AI readiness for missing facts and correction links.
Search visibility depends on your website’s availability and crawler settings. These checks do not promise rankings, traffic or AI citations.
Website Studio · SEO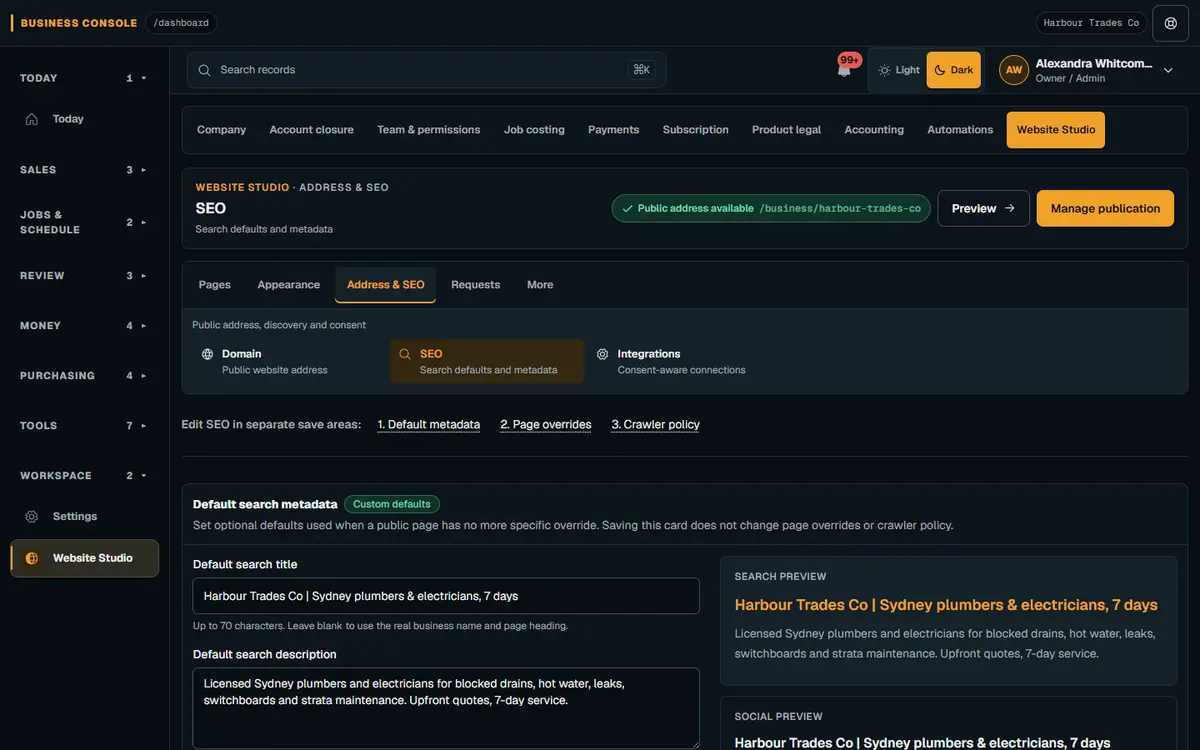
SEO — sample workspace - STEP 05
Connect your own web address
DomainEnter your domain in Domain and follow the DNS instructions shown for that address at your domain provider. Select Check setup now after making the changes. The screen reports verification, DNS, certificate and routing checks.
Nenvik does not change your registrar’s DNS for you. Your platform address remains the fallback when a custom domain is removed; a replacement keeps the old address live until its checks pass.
Website Studio · Domain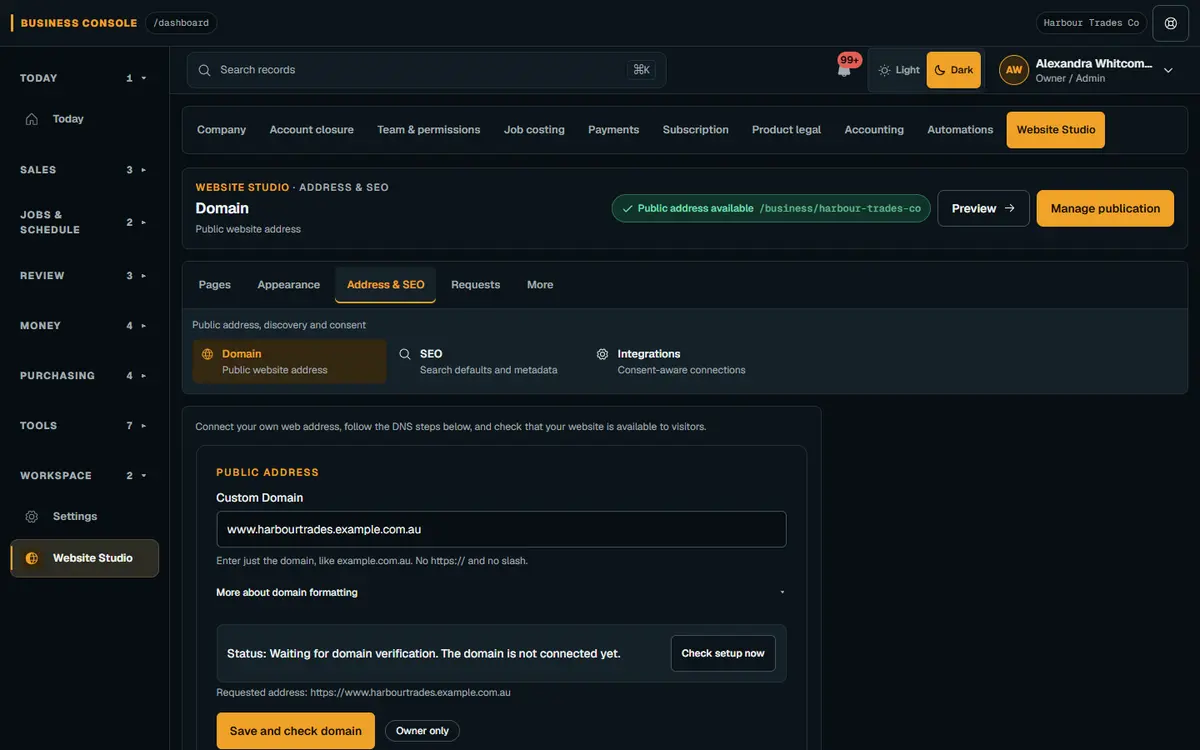
Domain — sample workspace - STEP 06
Preview, review and publish
Theme and layoutComposerReview and publishSave your appearance changes before using Preview your website. Inspect the saved design at Desktop and 390px, then confirm Publish design when you have permission. For a section-based homepage, arrange the draft in Composer and use Review and publish to submit, approve and publish that content separately.
Design publication changes appearance. It does not enable the website, change its address or publish a Composer content draft. Some focused content editors update the enabled website directly, so read each screen’s save message.
Website Studio · ComposerComposer · Composer: arrange sections with a live preview — sample workspace - STEP 07
Give the right people access
AccessActivityStatisticsThe Owner manages staff website permissions in Access. Editing, reviewing and publishing have separate permissions. Activity records website changes; Statistics shows recorded website activity.
Staff only see the tasks they are allowed to use. Private Quote Requests remain Owner-only.
Website Studio · Access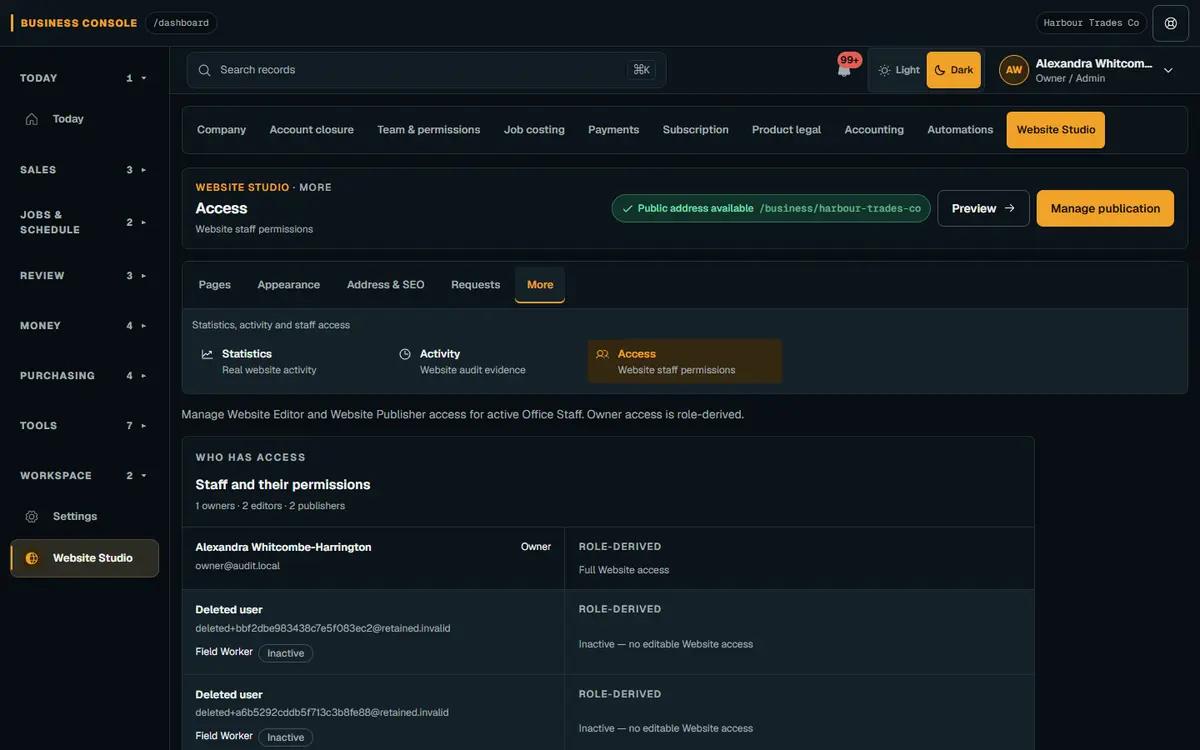
Access — sample workspace
Change your theme and design
In Settings → Website → Appearance, open Theme and layout — the Design page. Your website design shows the design customers currently see alongside your saved draft.
The design cards pair a family’s layout with a colour theme. Pick the card for the style you want; there is no separate custom theme-file upload.
- Choose a different style. Open Choose a design. Use Change trade if needed, compare the cards and confirm Use this design. This saves a draft; it keeps your content records and leaves the current live design in place.
- Adjust the details. Open Adjust appearance to set colours, typography, width, spacing, corners, navigation density and the motion options supported by your design. Save draft before previewing. Read any colour-contrast validation and correct the values before saving.
- Preview what you have saved. Preview your website shows the saved design at Desktop and 390px. If you have unsaved choices, save or discard them first. The private preview’s links and forms are disabled; it is for checking the layout.
- Publish the appearance. An authorised publisher confirms Publish design for the saved draft. This changes the design customers see when the website is enabled. Review and publish handles Composer homepage content separately.
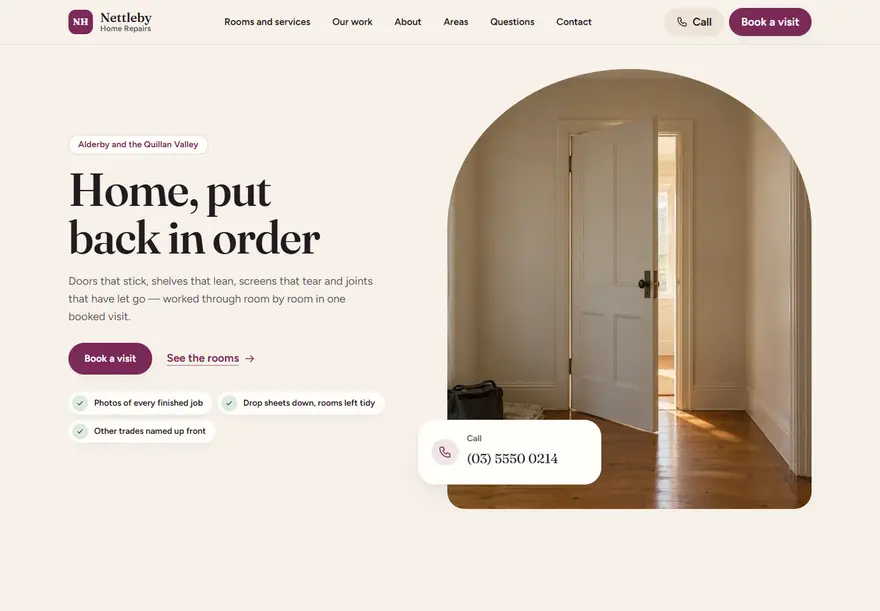 Mulberry on HavenHandyman & home repairs · Haven
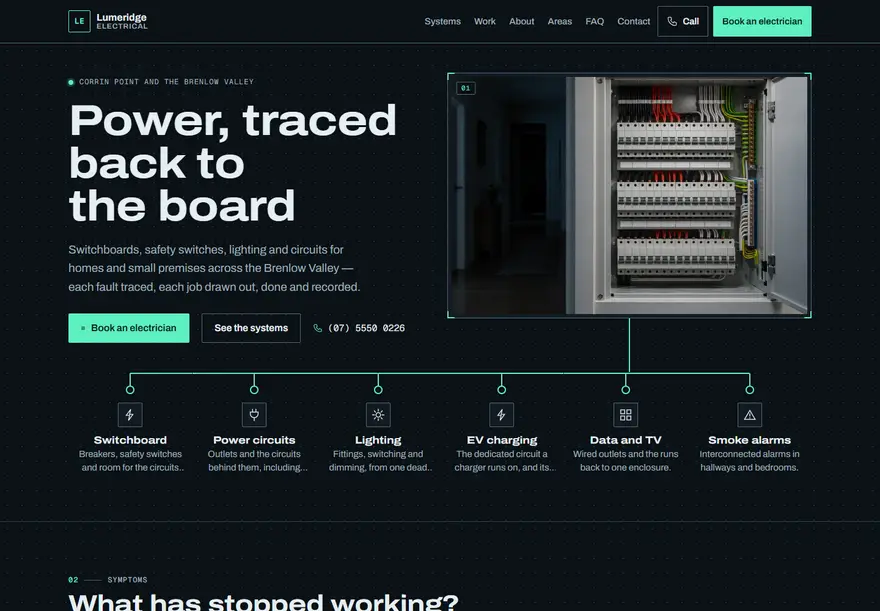 Phosphor on TraceElectrical services · Trace
| Change | Studio screen | Available choices |
|---|---|---|
| Trade, design family and design | Theme and layout → Choose a design | Choose a design card for its family and colour theme; confirm Use this design. Change trade opens the other trades. |
| Brand colours | Theme and layout → Adjust appearance | Primary and accent colours use six-digit hex values and must pass contrast checks. Use preset colours removes your overrides. |
| Fonts | Theme and layout → Adjust appearance | Typography presets: Balanced, Editorial or Modern. Custom font uploads are not supported. |
| Layout and motion | Theme and layout → Adjust appearance | Standard or Wide content width; Comfortable or Compact navigation; Compact, Balanced or Airy section spacing; Subtle, Rounded or Square corners. Motion choices depend on the selected design. |
| Menus and footer | Theme and layout → Navigation and footer | Reorder, relabel or hide supported menu items. Contact stays visible and at least two items must remain. Choose which existing footer details to show; Privacy always stays. |
| Homepage sections | Composer | Create a draft from current website content, then add, remove, move, duplicate or hide supported sections. Review and publish the content separately. |
| Logo, images and words | Branding · Media · Homepage · Services · Projects · Service Areas · FAQ · Contact | Edit your actual content in its screen. Media is a read-only library; Manage in context opens the editor that owns the image. |
Sample preview and your own site are different. Design cards show fictional sample content without changing your website. Add sample content to my website is a separate, confirmed content action. It keeps existing records but replaces the Composer draft, and added records can appear immediately on an enabled site. Changing a design alone does not import sample content.
Website Studio uses its available designs and supported sections. Custom fonts, theme files and arbitrary HTML, CSS or JavaScript are not supported. Design publication does not change website availability, your domain or SEO settings.
Website Studio questions
Can I use my own domain?
Yes. Domain shows the instructions and checks for your chosen address. You make the DNS changes with your domain provider; Nenvik checks the setup.
Can I switch designs later?
Yes. Open Theme and layout, choose another design and save a draft. Preview the saved design and publish it when you are ready and have permission.
Does my content stay when I switch?
Changing the design keeps your content records. The selected design changes their presentation. Adding or removing sample content is a separate action with its own confirmation.
Who can edit or publish the website?
The Owner manages staff website access. Staff need the relevant editing or publishing permission; private Quote Requests remain Owner-only.
How do website enquiries arrive?
A quote request creates a lead and stores the requested work, contact details and job location in Nenvik. The Owner reviews it in Quote Requests before taking the next step.
Can I upload my own theme or write code?
Website Studio supports its available designs, appearance presets and registered homepage sections. It does not accept custom theme files, custom fonts or arbitrary HTML, CSS or JavaScript.
What does it cost?
See current plans, included features and limits on the pricing page before choosing your plan.
Make your website part of how you work.
Create an account, choose your plan and explore Website Studio to build your business website around your real services and customers.