
Locksmith call-outs: dispatch, install quotes and getting paid on site
Keep urgent call-outs and planned installs in the same diary, with clear job records, agreed charges and confirmed payments.
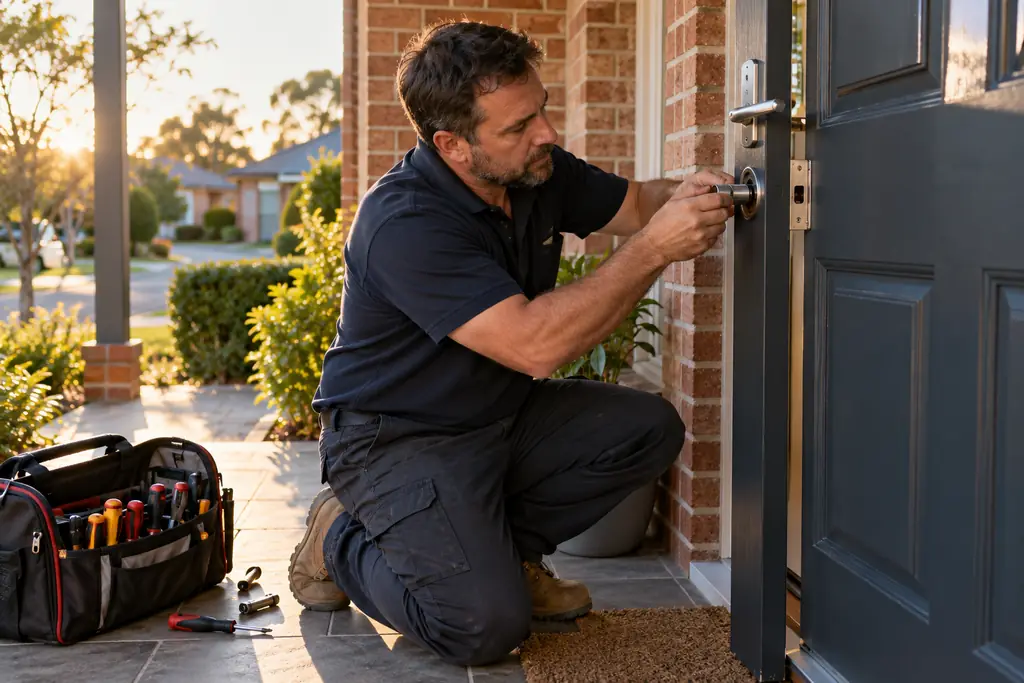
A small locksmith business can have urgent lockouts and rekeys beside planned installs for locks, cylinders and access readers in the same diary. The urgent caller needs a clear response, while an installation needs assessment, hardware choices and time set aside. Those jobs have different rhythms, but both need a reliable record of the customer, property, agreed work and payment.
The locksmith and security access workflow connects these records. Start with the same handover questions for both kinds of work: who needs help, where is the work, who will attend and what has been agreed? Keep the answers with the job so another staff member can pick up the next step.
Take the urgent call without losing the details
Record the caller's contact details and confirm the full service address, including the unit or building entrance where relevant. Ask which door or lock needs attention and what the caller can describe about the problem. Keep the description factual. A door that will not open, a damaged cylinder and a request to change locks need different preparation, even when every caller wants someone quickly.
- Identify the paying customer and confirm the billing contact rather than assuming the caller will pay.
- Record who the locksmith will meet, how to contact them and any agreed meeting arrangements.
- Describe the affected door, visible hardware and reported symptoms without collecting security credentials.
- Note what still needs checking before the business agrees to attend or carry out the requested work.
Use customers and service sites to distinguish the customer from the property. The person waiting at the door may differ from the person arranging or paying for the work. Keep those roles clear through operational site contacts, and confirm who should receive the invoice before the visit becomes a billing query.
Read back the address and meeting arrangements before ending the call. If details are uncertain, name the person who will confirm them and tell the locksmith what remains unresolved. Keep the caller's description separate from the locksmith's later findings, so an early assumption about the fault does not become the recorded outcome.
Check availability and choose the locksmith
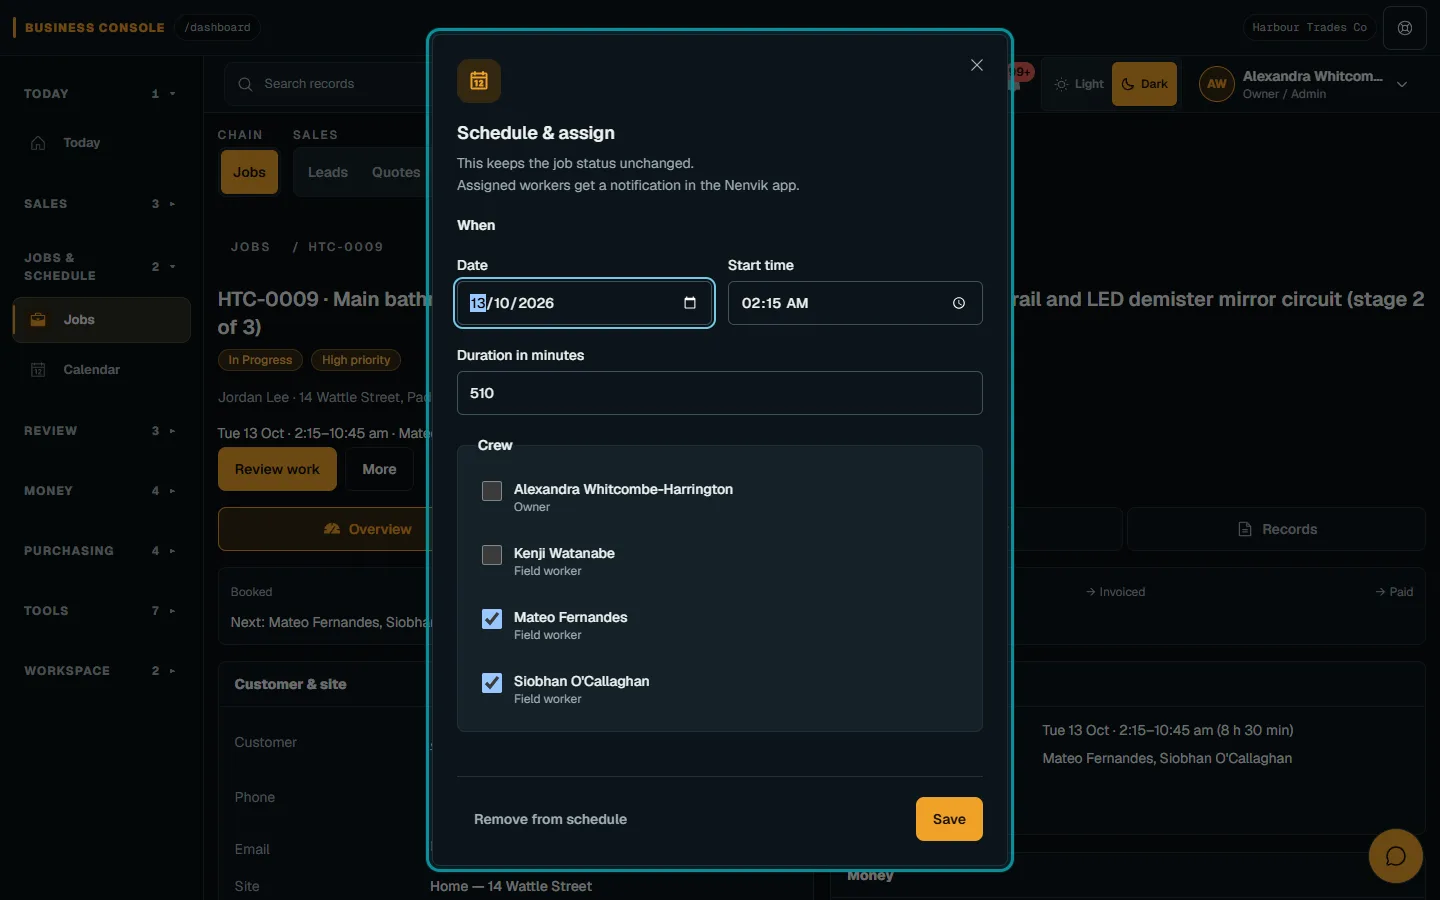
Check worker availability and the existing diary before giving an attendance window. Allow for the current job, travel and the work the next visit may involve. Schedule the job and manually choose the locksmith who will attend. If a planned install needs to move, contact that customer and agree the change rather than quietly replacing their appointment with the urgent call.
Follow plan and dispatch a job to record the visit and assignment. The assigned locksmith opens the job in the Nenvik Android app or the web app on their phone. Check that the service address, meeting contact and work description are ready before handing over, so the locksmith can prepare without relying on a separate conversation that the office cannot later find.
The locksmith records completed work, time and private photos of hardware against the job. Keep photos focused on the relevant equipment. Use field evidence and time for the record. Optional on-the-way, running late and arrived updates are emails to the customer; follow customer communication when using them. If an email is unsuitable for an urgent change, speak with the customer directly.
Explain the call-out charge before attending
Tell the customer what the call-out covers before the locksmith sets off. Explain whether it covers attendance, assessment or a defined initial service, and what sits outside it. Describe how labour and supplied hardware will be agreed if further work is needed. Keep the explanation consistent between the person answering the phone and the person at the property.
Use your own business costs when deciding the charging basis. The hourly rate calculator helps organise those inputs, while how to quote a price for a job explains how to turn them into a defined scope. Check that an allowance already included in the call-out is not charged again as a separate item.
At the property, explain any proposed work beyond the agreed attendance before starting it. Record the agreed scope and charging basis while the conversation is fresh. If the customer wants time to decide about replacement hardware, distinguish today's completed work from the later proposal so neither becomes an unexplained invoice line.
Quote the install and check the deposit
Start an installation quote with a site assessment. Check the door, existing hardware, intended use and practical fitting conditions. Confirm what the customer wants to achieve before choosing equipment. If something remains uncertain, describe the assumption and resolve it before treating the quote as ready for acceptance. A clear assessment helps separate a straightforward replacement from a wider installation.
- Hardware: identify the proposed locks, cylinders or readers and the quantities to be supplied.
- Installation labour: describe fitting, adjustment and any agreed removal of existing hardware.
- Function checks: state the checks included after fitting so the customer understands the completed scope.
Offer suitable hardware alternatives as quote options, with a readable description of how each changes the scope. Follow quote options and optional extras. Make the selected equipment clear before ordering, and keep work outside the chosen option out of the installation handover.
Check the hardware description against the assessed door before finalising the quote. Note the intended finish, relevant dimensions and any fitting limitations that affect the proposal. If an alternative needs a further site check, explain that next step. Avoid presenting equipment as interchangeable simply because it serves a similar purpose.
An optional fixed or percentage deposit can be configured on the quote. With that deposit configured, online acceptance creates and issues the deposit invoice. The deposit on acceptance guide explains the sequence. Card payment is available when your business has connected its own Stripe account. Acceptance alone is not payment: check confirmed payment before ordering hardware or booking the install under your agreed deposit arrangement.
Then convert the accepted scope into a job. Check the selected hardware, fitting tasks, service address and meeting contact before scheduling. If the customer changes the equipment choice, settle the revised scope and payment arrangement before relying on the earlier quote.
Invoice and check payment while still on site
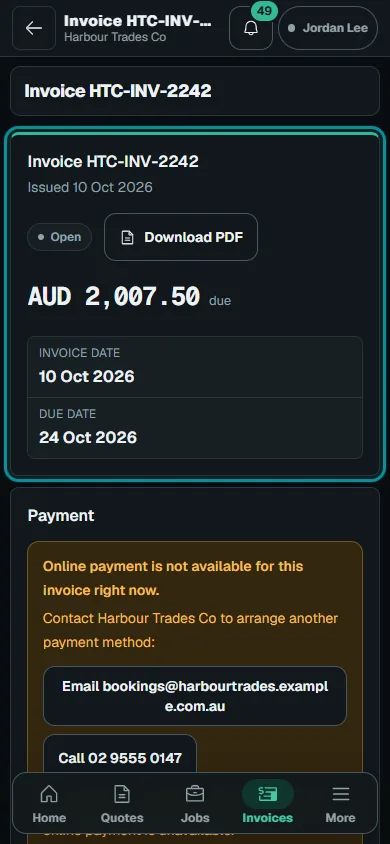
Staff with invoice permission can create, review, issue and email the invoice from the web app on a phone while still at the property. Compare it with the agreed charge and completed work. Check the customer, supplied hardware, labour and any earlier billing before sending. The invoice should describe what was delivered without exposing private job notes.
The customer opens the secure invoice link and pays by card through Stripe Checkout when your business has connected its own Stripe account. Use connect Stripe and take card payments for setup and the payment flow. Let the customer use their own device to enter payment details, and give them time to review the invoice.
Check the confirmed payment and remaining invoice balance afterwards. Returning from checkout is not confirmation that payment succeeded. Payments received by another method can also be recorded manually as payment evidence through the invoice and payment workflow. Record the actual receipt against the correct invoice, check for an existing entry and review the balance before asking for anything further.
Keep hardware history useful for the next visit
Customer assets can record manufacturer, model, serial number and warranty dates, with service history entries linked to jobs. Use customer asset service history to retain those details. Reference the door location and hardware consistently in notes and private photos, so the next locksmith can distinguish similar cylinders or readers at the same property.
For a repeat fault, read the earlier work before proposing another replacement. Check what was reported, what was fitted and what remained unresolved. Warranty dates help your business find relevant information; they do not decide responsibility for the new fault. Keep the next action clear, whether that is another assessment, a hardware proposal or a question for the office.
- Before attendanceConfirm the customer, site contact, authority process, assigned locksmith and agreed call-out scope.
- Before leavingRecord the work and hardware, review the invoice, then check payment evidence and the remaining balance.
- Before the next bookingUpdate the hardware history and resolve open questions so the next visit starts with a useful record.
Common questions
Does the software verify authority to open a door?
No. Your business verifies the caller's authority using your own documented process. Software does not verify or prove access authority. Never store keys, access codes or passwords in job notes.
How is a locksmith assigned to an urgent call-out?
Check worker availability, schedule the job and manually choose the locksmith. The assigned locksmith opens the job in a phone browser to read the details and record the work.
Does accepting an install quote mean the deposit is paid?
No. With a deposit configured, online acceptance creates and issues the deposit invoice. Check confirmed payment separately before ordering hardware or booking the install under your agreed arrangement.
Can an invoice be emailed while still at the property?
Yes. Staff with invoice permission can create, review, issue and email the invoice from the web app on a phone. When the business has connected its own Stripe account, the customer can pay through the secure link.
What should we check after the customer uses card checkout?
Check confirmed payment and the remaining invoice balance. Returning from checkout is not payment confirmation. For another payment method, record the actual receipt as payment evidence against the correct invoice.
More from the blog
 Deposits on quotes: a practical guide for tradiesExplain a deposit before the customer accepts, check the resulting invoice and confirm payment separately from acceptance and scheduling.Read article
 Late payments and invoice reminders for tradiesMake the invoice clear, check the live balance before following up and use reminders with a deliberate delivery setup.Read article
 Variations and change orders: recording extra trade workKeep the accepted quote intact, describe the proposed change and ask the customer to decide on that exact scope and price.Read article